At Christmas I decided to wrap all my Christmas presents with brown paper because I wasn’t sure whether normal wrapping paper was suitable for recycling.
This is the information I found on the internet.
- Some local authorities accept wrapping paper in home recycling collections
- Others ask for wrapping paper to be taken to the local recycling centre
- Some do not collect wrapping paper at all because wrapping paper is not accepted by some recycled paper mills. There are a number of reasons for this.
I looked on my local Councils recycling page and wrapping paper was not mentioned so I am still not sure.
We didn’t manage to recycle all our brown paper as in all the mayhem of Christmas there wasn’t a huge amount of time to remove all the sticky tape. I should have probably folded the paper and then kept it in place with ribbon and not used any sticky tape.
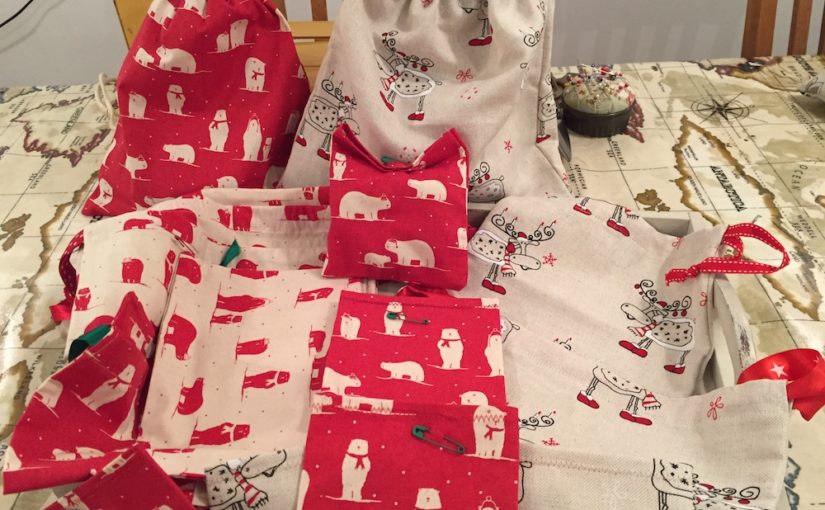
As a family we always have a celebration on New Year’s Day and give small gifts. I decided this year to make up some fabric bags to wrap presents. This worked really well and they can all be reused next year. I didn’t buy any new fabric, just used up bits I had. The only downside will be next Christmas working out which bag is the best for each gift. I tried different ways of making and then came up with one that I could complete in 10 minutes.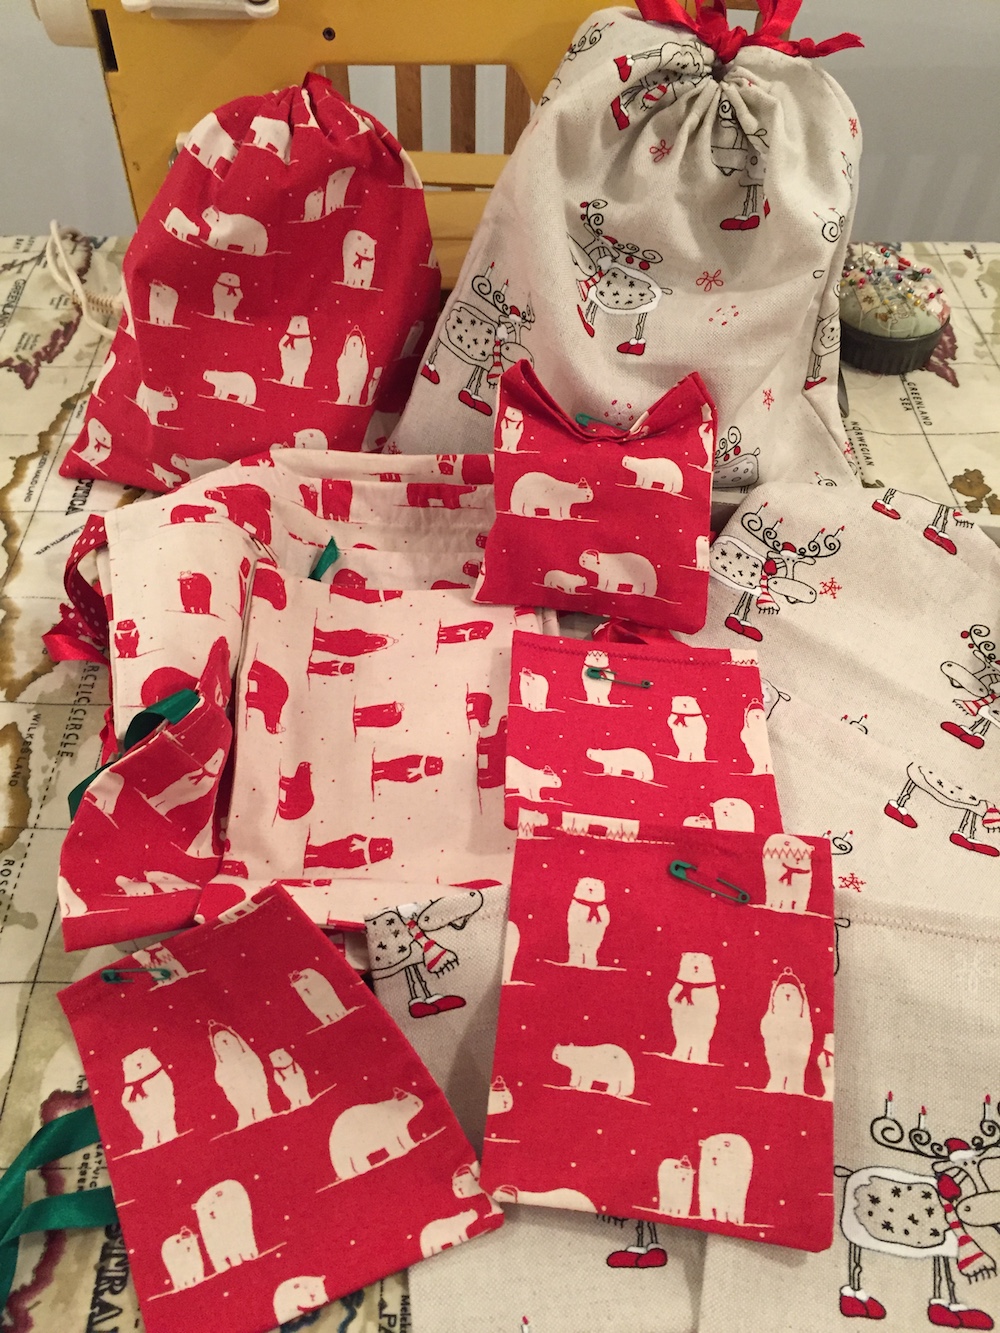 After Christmas I decided to make some bags by the same method to keep our reusable coffee cups in. We like to keep a couple of cups in the car as you never know when you are going to feel like a coffee and of course by using reusable cup you cut down on single use plastic. You also save money usually at least 25p a cup.
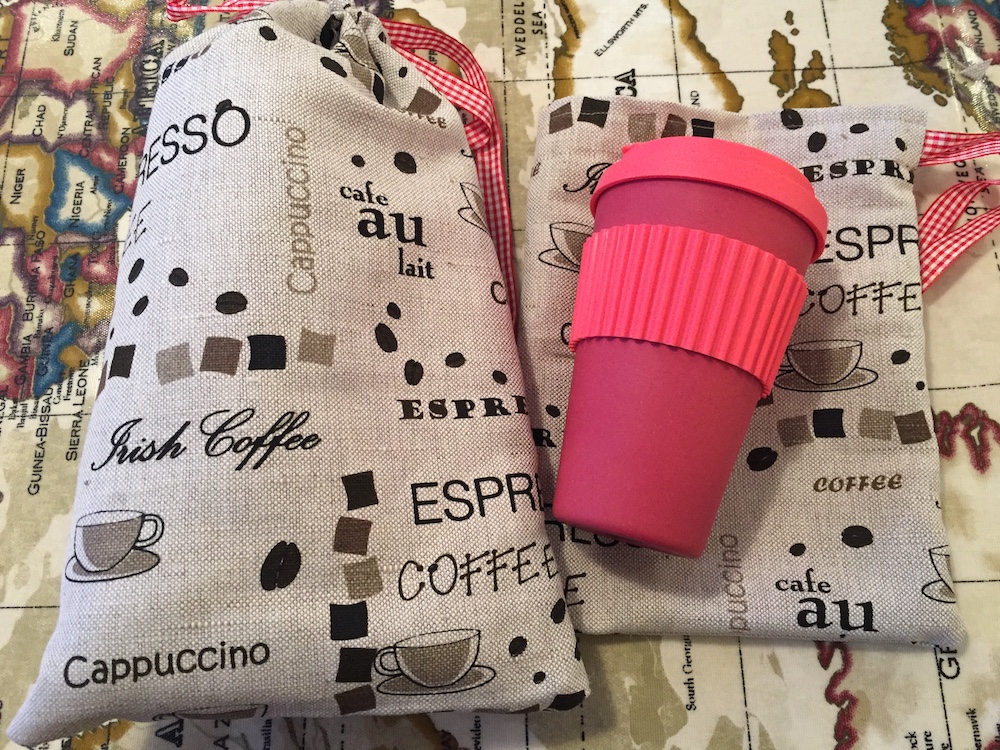 The larger bag on the left has two cups in it and the smaller one on the right is big enough for one cup. This fabric I bought years ago on a trip to Estonia. I had used some of it but had a small amount left.
To make the bag for one cup I cut a piece of Fabric 36 cms by 28 cms. I like to stop the edges of the fabric fraying so I used a zig zag stitch around the whole piece. I folded the piece in half with the right sides facing each other and sewed with a straight stitch down the side seam, starting about 6 cms from the top edge and along the bottom of the bag.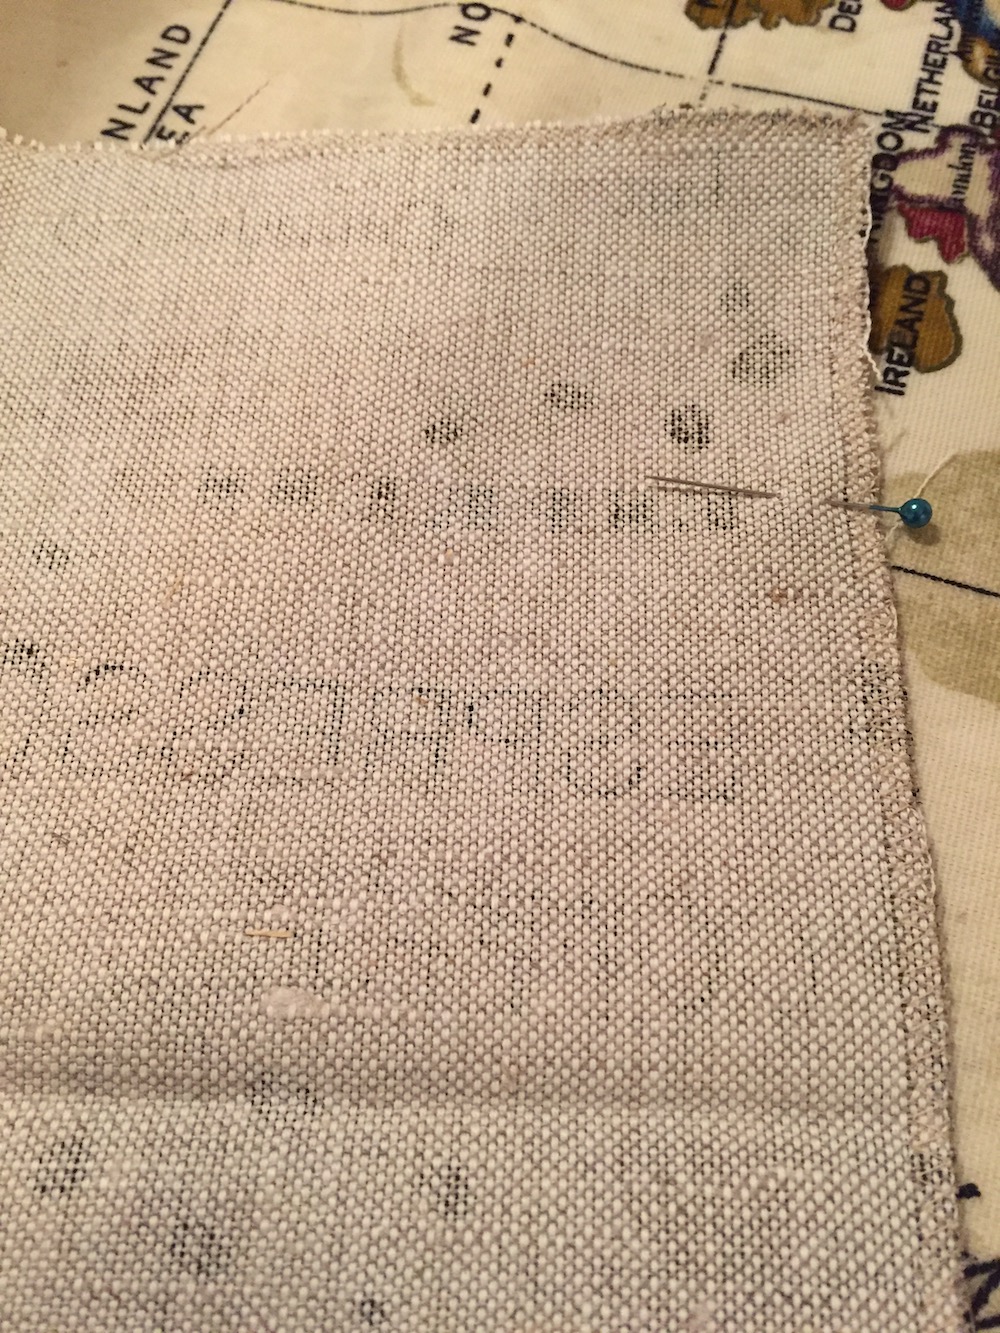 The next stage was to make the top with a casing for a piece of ribbon to go through. Again I like to neaten my work so I folded back each short 6 cm edge at the side and sewed it in place with a straight stitch.
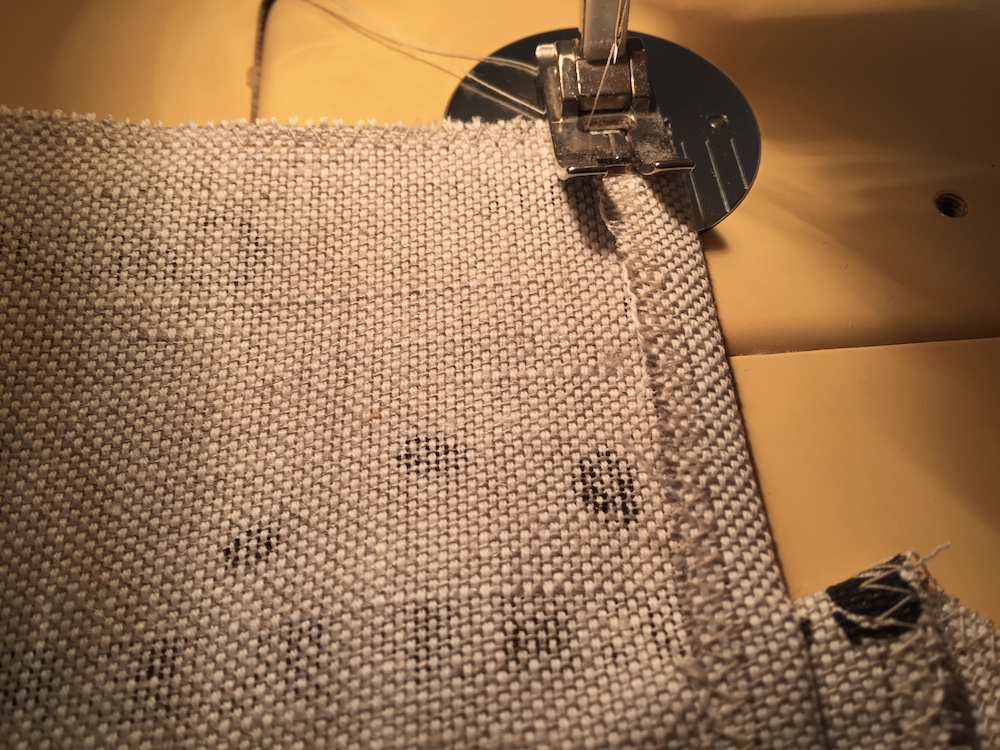 The last step was to turn over the top edge so that it came down about 3 cms and sew with a straight stitch right around the bag. I then used a straight stitch to sew about half a cm down from the top folded edge.
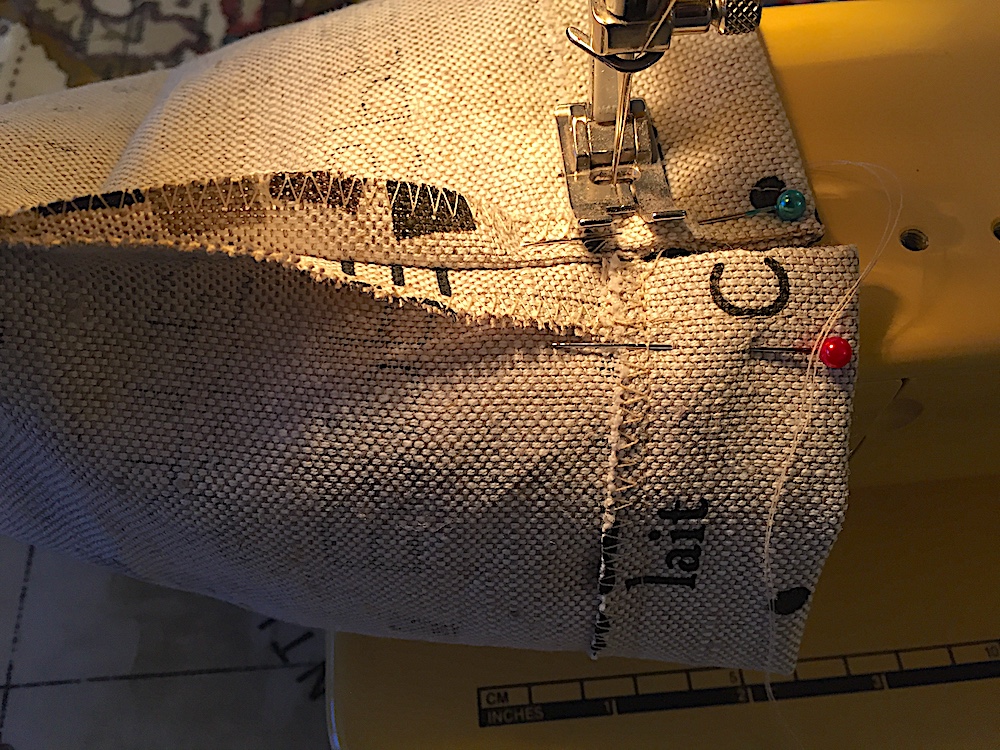 The bag can now be turned out the right way and a piece of ribbon threaded through the top casing. This will close the bag and can be tied with a bow.